We’re going to continue with DisplayObject which extends Scene. You can review the schema in part 1 of this series, but there will be some title adjustments.
Its job is very simple. It will group objects that need to be rendered in a children array and it will expose methods that allow us to add and remove elements to this array. It’s actually very similar in functionality to the Canvas.
We want everything that’s being rendered in our Scene to be a DisplayObject. Imagine a game where we have a spaceship. Whenever the ship moves, its thrusters are ignited. The DisplayObject could hold both the ship and the thrusters as they belong together.
Splitting the objects like this means we can also test for collision separately as something colliding with the thrusters should not register a hit on the ship.
You can use this logic to go even further and add the ability to collect power-ups that add more firepower to the ship and make those enhancements destructible by enemy fire, etc.
The Grouping Logic
For now, we only care about the grouping logic:
import Scene from './Scene';

export default class DisplayObject extends Scene {
  constructor() {
    super();
    this.children = [];
  }
  add(elem) {
    if(elem.constructor === Array) {
      for(let el of elem) {
        el.scene = this.scene;
        this.children.push(el);
      }
    } else {
      elem.scene = this.scene;
      this.children.push(elem);
    }
  }
  remove(elem) {
    let idx = this.children.indexOf(elem);
    if(idx > -1) {
      this.children.splice(idx, 1);
    }
  }
  update() {
    for(let el of this.children) {
      if(typeof el.update === 'function') {
        el.update();
      }
      if(typeof el.render === 'function') {
        el.render();
      }
    }
  }
};
Sprite sheets: what they are and what do they offer?
A game usually needs a lot of graphical assets. In the case of 2D games, these images are usually called to as sprites. Every image has a width, height, and color depth. Pixels are defined by 4 channels:
- 3 color channels (red, green, blue) and
- 1 alpha channel.
Every channel has a value from 0 to 255. You can store the maximum value of 255 using 8 bits (255 = 11111111 in binary); 4 channels * 8 bits per channel = 32 bits. That’s a total of 4 bytes for each pixel. The memory required for a 64×64 image is 64*64*4 = 16.3 kilobytes.
That’s not a lot, but managing multiple characters, items and animations can affect memory and implicitly performance. The best way is to store all graphical assets in a single sprite sheet. Here’s a partial sprite sheet example from the Angry Birds game:
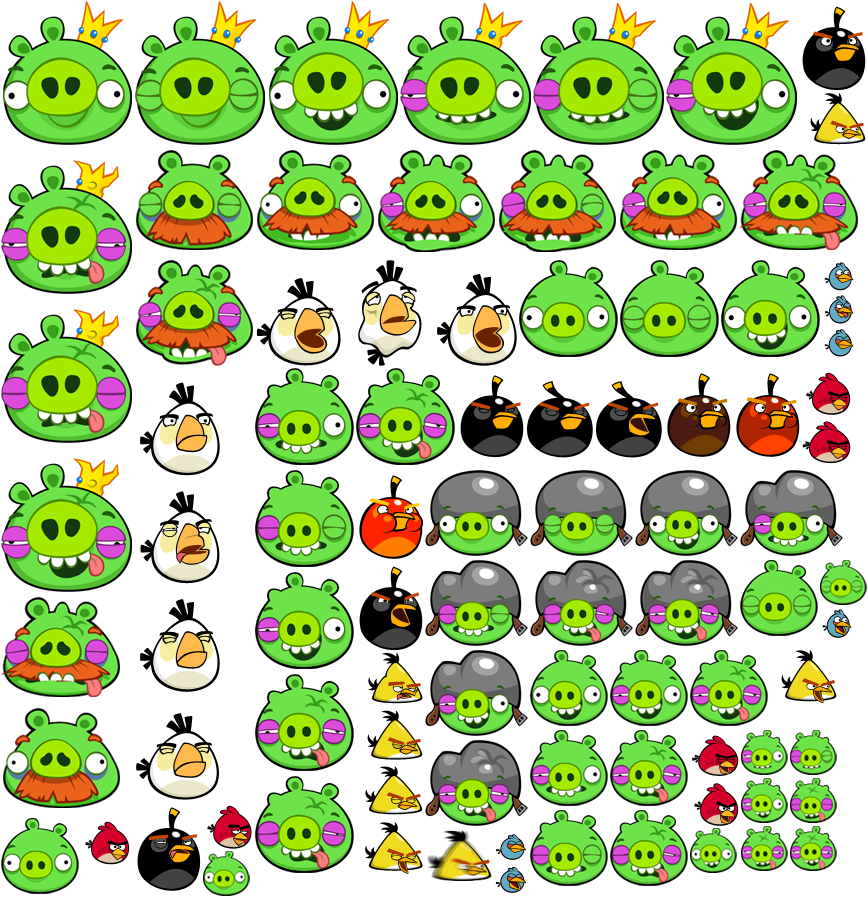
© Rovio Entertainment — Angry Birds Sprite Sheet
It has the various pigs, the damage stages they receive, as well as some of the birds. There are tools which help you create sprite sheets, like TexturePacker but you could also create your own utility that does this relatively easy.
You can create sprite sheets with fixed width and height cells or you can optimize them by cropping out the transparent parts making every sprite takes as little space as possible.
The SpriteSheet Class
Our engine will have a SpriteSheet class which will implement a getTile() method to return a specific tile based on its position. We’ll currently work with the idea that all tiles in the sheet have the same width and height (so if one image is 64x32px, they all are).
export default class SpriteSheet {
  constructor(img, spriteWidth=16, spriteHeight=spriteWidth) {
    let i;
    let j;
    let blocksW = img.width / spriteWidth;
    let blocksH = img.height / spriteHeight;
    let sprites = [];

    this.img = img;
    this.spriteWidth = spriteWidth;
    this.spriteHeight = spriteHeight;
    this.sprites = sprites;

    for(i=0; i<blocksH; i++) {
      for(j=0; j<blocksW; j++) {
        sprites.push([
          j * spriteWidth,
          i * spriteHeight,
          spriteWidth,
          spriteHeight
        ]);
      }
    }
  }

  getTile(row, col) {
    return [
      row * this.spriteWidth,
      col * this.spriteHeight,
      this.spriteWidth,
      this.spriteHeight
    ];
  }
};
It takes two parameters: a loaded image and the tile size. The loaded image will be provided by our AssetsLoader utility class which we covered in part 2 of this series.
Since our sprite sheets will have a fixed width and height for each tile, we can traverse the entire image and store the coordinates of each of the sprites.
Animated sprites are no different, take a look at this Ryu sprite sheet from the Street Fighter game:

Ryu Sprite Sheet
It’s the same concept as movie reels. You have a lot of frames with static images which you traverse at a high frame rate. This gives the illusion of movement.
So what would an AnimatedSprite class look like?
Well it should have a few things like:
- the x and y position
- the sprite sheet it’s working with
- the start and end frame of the animation
- whether the animation should loop forever (default true) — at a later time we could also allow for this to be a number (like loop 3 times)
- if the loop is false it should stop on the last frame
- the animation frame rate (unless we want to toggle through those frames 60 times per second)
- in the image above Ryu has 9 frames but we’re working on a 0-based index, so the frames are counted left to right from 0 to 8; this will be the default approach in our class
import DisplayObject from './DisplayObject';

export default class AnimatedSprite extends DisplayObject {
  constructor(x, y, sheet, startFrame=0, endFrame=startFrame+1, loop=true, fps=30) {
    super(x, y);
    this.sheet = sheet;
    this.sprites = sheet.sprites.slice(startFrame, endFrame);
    this.loop = loop;
    this.frameIdx = 0;
    this.period = 1000 / fps;
    this.now;
    this.then = Date.now();
    this.elapsed;
  }

  updateFrameCounter() {
    if(this.frameIdx < this.sprites.length - 1) {
      this.frameIdx++;
    } else {
      if (this.loop) {
        this.frameIdx = 0;
      }
    }
  }

  update() {
    this.now = Date.now();
    this.elapsed = this.now - this.then;

    // if enough time has elapsed, draw the next frame
    if (this.elapsed > this.period) {
      this.then = this.now - (this.elapsed % this.period);
      this.updateFrameCounter();
    }
  }

  render() {
    // draw frame logic
    this.ctx.drawImage(
      this.sheet.img,
      ...this.sprites[this.frameIdx],
      this.x,
      this.y,
      this.sheet.spriteWidth,
      this.sheet.spriteHeight
    );
  }
}
We call this blitting. The frame rate control is managed with Date instances inside the update() method. We check if the time that’s elapsed is greater than the period. If it is, we simply increment the frame index by 1. Both the update() and render() methods are still called ~60 times per second, this doesn’t affect us.
Let’s put everything together:
import { Game, Scene, SpriteSheet, AnimatedSprite, AssetsLoader } from '../engine';

require('../../scss/styles.scss');

let assetsLoader = new AssetsLoader();
let scene = new Scene();
let game = new Game(scene);
let sheets = {};
let initGame = () => {
  // create an AnimatedSprite using the Ryu sprite sheet
  let ryuAnim = new AnimatedSprite(50, 50, sheets.ryu, 0, 9, true, 10);

  // add the animated sprite sheet to the scene
  scene.add([
    ryuAnim
  ]);
};

assetsLoader.load([
  './assets/ryu.png',
]).then(function(result) {
  // create a new SpriteSheet with the loaded image
  sheets.ryu = new SpriteSheet(result.ryu, 78, 130);

  // initialize the game
  initGame();
});
In the next article, we’ll attempt to create a simple game like Asteroids or Space Invaders with the engine we have so far.
Radu B. Gaspar
The original article: here.